
This article first appeared in BrickJournal Issue 38, 2016
Getting your robot to Speak (not just the ‘official’ phrases)
The sounds that are built into the EV3 system are numerous and awesome. Someone obviously spent a lot of time choosing, recording, cleaning them up and I’m really thankful, truly I am! However, in the 127 preloaded sounds that comes with the EV3-G software, nowhere could I find the phrase “Number 5, is ALIVE!!”. (For those who don’t get the reference, Google it. It is a classic piece of robot cinema history!). Now while I’m saddened that the EV3 software developers chose not to include this phrase (along with “The chances of survival are 725… to 1”) I do understand that there are limits to what is possible. So how do we get around this?
Sound Editor
The EV3-G software has a built in sound recorder / editor so that you can create your own sound files.
Access it via the tools menu.
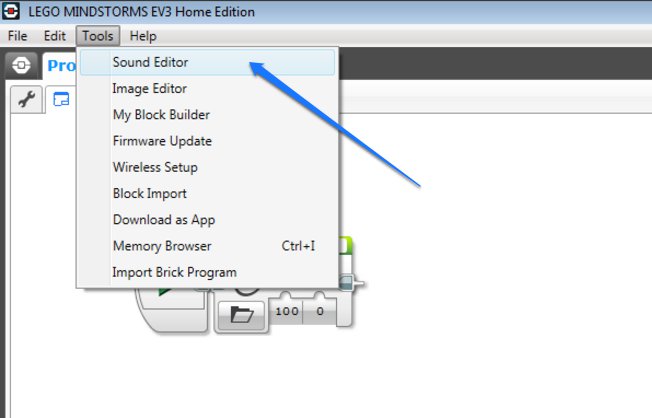
There are several parts to the Sound Editor, the most important being the ‘Record’ button. 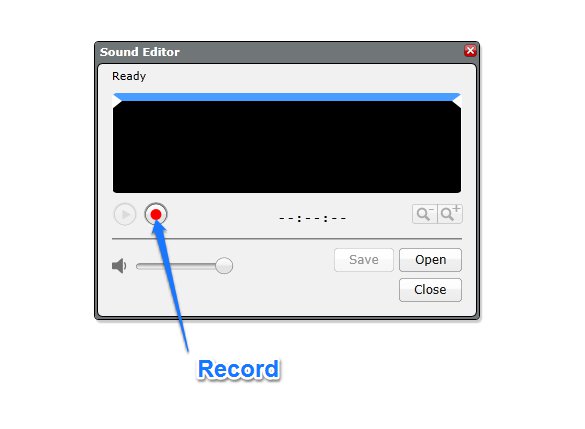
Make sure there is a recording device attached to your computer. I use the microphone built into my webcam.
Press the ‘Record’ button and in your best voice / accent / character, say your phrase. Press the stop button when you’re finished. If all goes to plan, you’ll see a waveform that graphically shows you what was just recorded. If you flub your lines, just press the record button to re-record over the original recording.
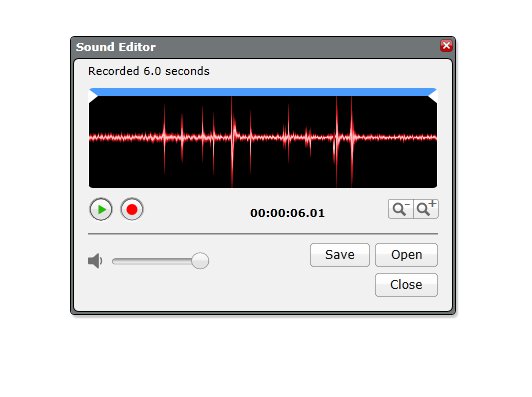
Press the green ‘Play’ button to listen back over what you have already recorded. You’ll notice my recording has a bit of empty silence at the start and the end. Click and drag the Trim arrows to crop out only the parts that you need.
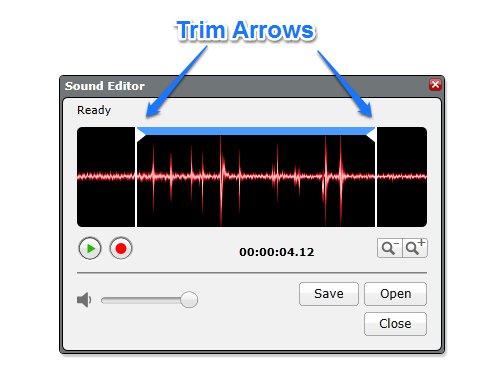
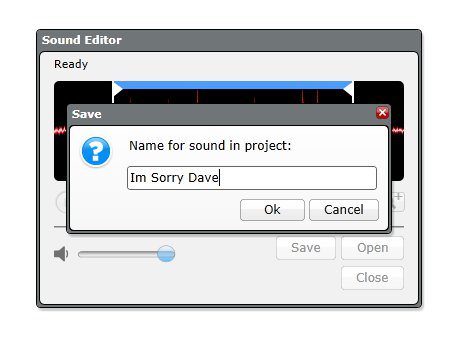
Press the ‘Save’ button when you’re happy with how it all sounds. Give your sound file a name that enables you to know what was recorded. ‘SoundEffect1’ is not a good name. ‘Im Sorry Dave’ is a much better name.
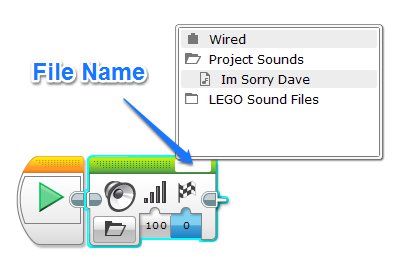
Once you’ve saved the file with an appropriate name, close down the Sound Editor to be returned to your normal Programming Canvas. Drag out a ‘Sound’ Block to use in your program. Click the ‘File Name’ section and go to the ‘Project Sounds’ section. If everything has gone to plan, you should see your new sound file there, ready to go!
Exporting
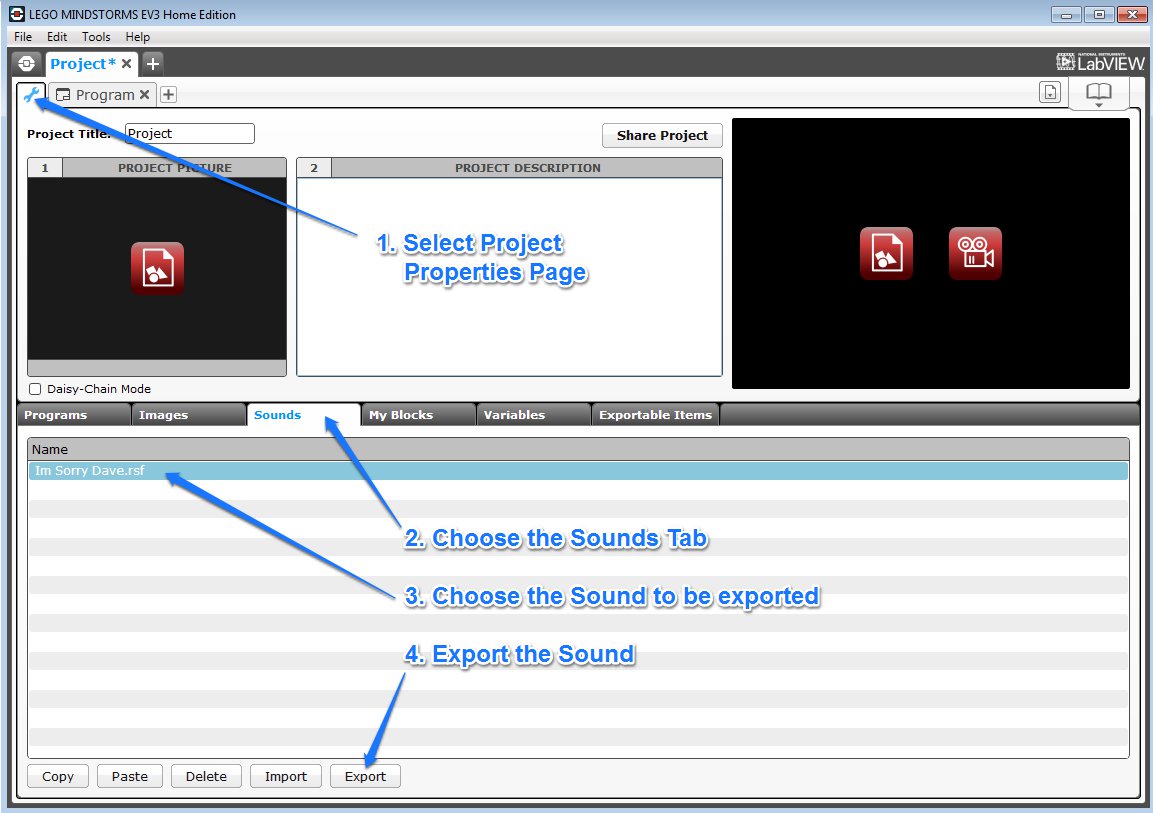
So you’ve got this awesome new sound file and you want to share it with the world. Unfortunately at the moment your new sound file is only part of the project that you’re working with. If you opened a new Project, that new sound file wouldn’t be there. You can however export the sound file through the Project Properties Page.
- Select the Project Properties Page
- Choose the Sounds Tab
- Choose the Sound to be exported
- Export the sound
To load the sound into a new Project, you’ll need to open your new Project and go to the Project Properties Page. Press the ‘Import’ button and locate where you had previously exported your sound file. Once imported, you’ll find you’re new sound file in the ‘File Name’ section of the Sound Block.
Have fun!